
Este tutorial explica principalmente cómo instalar Unraid en Aiffro K100.
Sin incursión: Un sistema operativo potente y fácil de usar, adecuado para servidores alojados en el propio servidor y almacenamiento conectado a la red. La ventaja del sistema es que se pueden agregar libremente varios tipos de discos duros a la matriz como espacio de almacenamiento, la gestión de Docker y de máquinas virtuales es conveniente, el disco duro admite el modo de suspensión y tiene una buena compatibilidad de hardware.
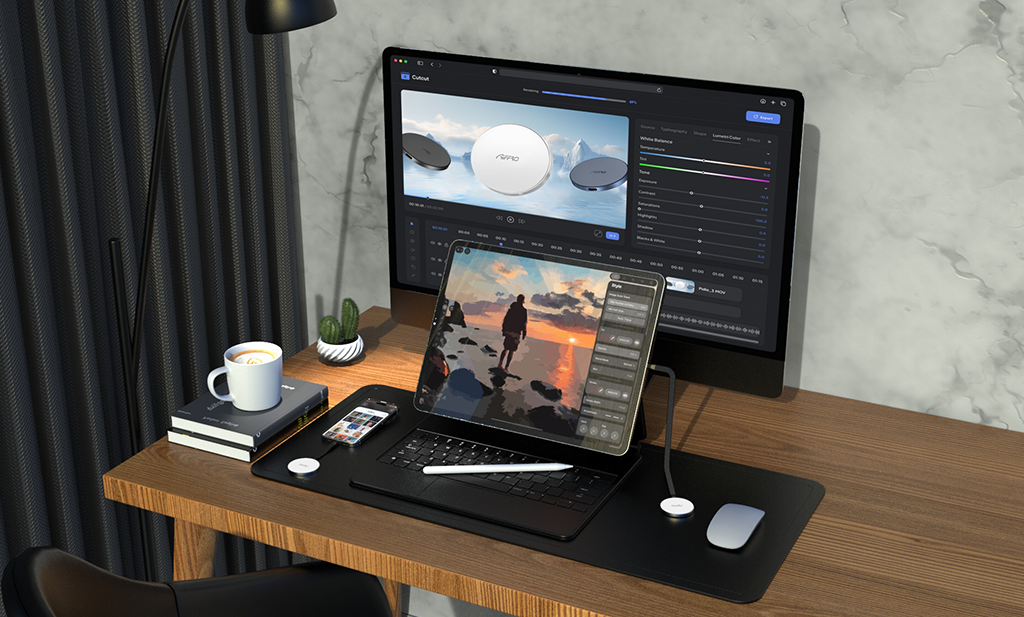
Aiffro K100: un NAS "full flash", admite 4 M.2 ranuras, con una capacidad máxima de 16TB. Está equipado con un procesador Intel N100, 8GB de memoria y un puerto Ethernet de 2,5G para un acceso rápido a los datos de los archivos.
Para más detalles, puedes consultar este artículo: Aiffro K100 | Desempaquetado y experiencia
Directorio de procesos principal: 1. Descargue el archivo de imagen ISO de Unraid 2. Creación de USB 3. Configuración de arranque 4. Instalación del sistema.
- Descargar el archivo de imagen ISO de Unraid
Descarga la imagen desde el sitio web oficial de Unraid https://unraid.net
Descargar herramienta de creación USB.
- Creación de USB
Instalar herramienta de creación USB
Haga clic en "Seleccionar sistema operativo".
Puede descargarlo en línea o usar una imagen local sin conexión (el disco U se formateará automáticamente, sin necesidad de borrado por separado).
Haga clic en "Seleccionar tarjeta SD".
Seleccione el disco USB a grabar y haga clic en "SIGUIENTE".
Puede configurar la red (la opción predeterminada está bien).
Cuando se le solicite que elimine los datos, haga clic en "CONTINUAR".
Si aparece una ventana emergente, haga clic en "Cancelar".

Esto significa que la "red" no está funcionando.
Quema completada.
- Configuración de arranque
A continuación se muestra la configuración de arranque para Aiffro K100, como la configuración de la placa base de cada dispositivo puede ser diferente, se recomienda buscar la configuración relevante.
Arranque y presione "Esc" o "Del" para ingresar al BIOS cuando aparezca el logotipo.
Vaya a la interfaz de arranque.
Establezca la secuencia de arranque (generalmente, configurar la Opción 1 debería funcionar bien).
Seleccione el dispositivo de arranque.
Aquí seleccioné la unidad USB SanDisk como dispositivo de arranque.
Después de realizar la configuración, recuerde guardarla o no tendrá efecto; también puede presionar directamente "F4" para guardar.
- Instalación del sistema
Elegirá automáticamente el primer elemento para iniciar (en casos especiales donde se necesitan operaciones de interfaz, puede elegir el segundo elemento).
Una vez que se inicia el sistema, aparecerá la IP del NAS.
Acceda a la IP del NAS a través de un navegador de computadora, podrá ver la interfaz de inicialización de UNRAID.
Establezca la contraseña para la cuenta raíz.
Haga clic en "Iniciar prueba gratuita de 30 días".
Necesitas registrar una cuenta para comenzar la prueba.
¡Eso es todo!

Haga clic en "PRINCIPAL", primero debe configurar la matriz.
Aquí solo elegí un disco para la matriz.
Después de la configuración, haga clic en "INICIAR".
Debe verificar y confirmar el formato del disco duro.
Esto iniciará la matriz y podrás comenzar a usarla.
Dejar un comentario
Este sitio está protegido por hCaptcha y se aplican la Política de privacidad de hCaptcha y los Términos del servicio.